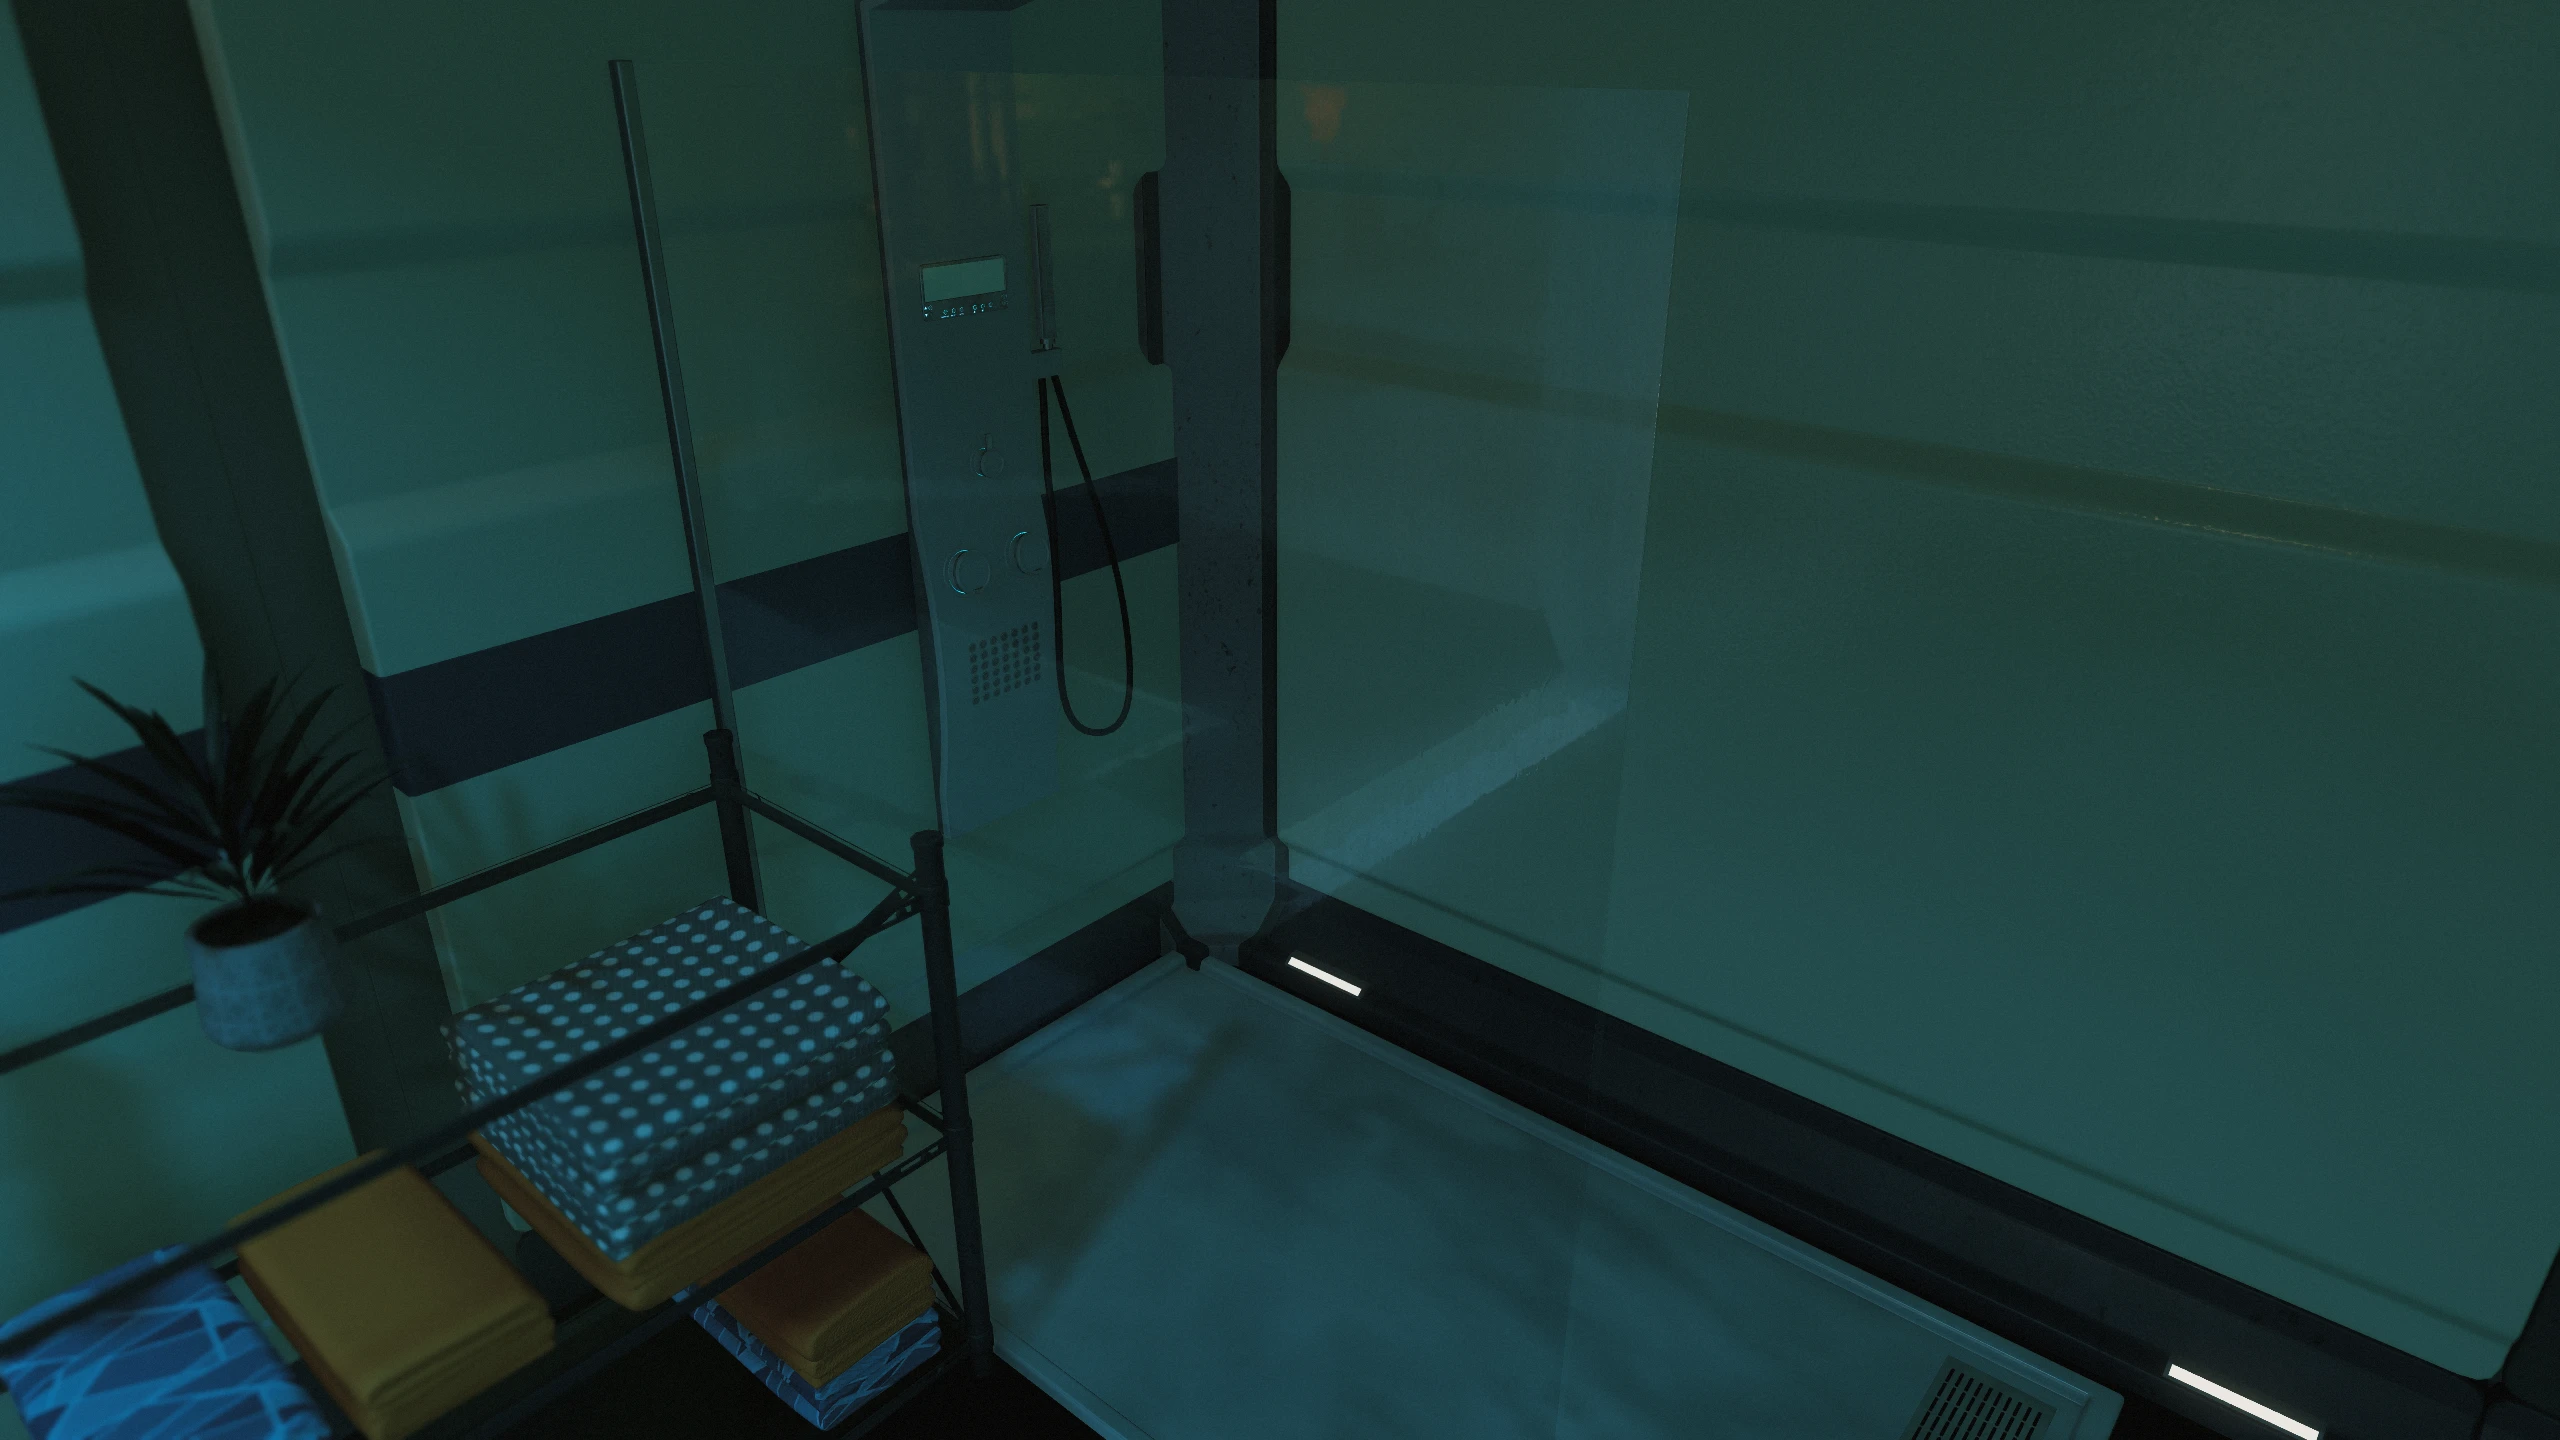
Custom glass textures for more realistic surfaces—from a flatter normal map to reduced surface noise. Stellar Glass brings added realism to your environment.
Just a few custom assets to remove that wavy, lumpy, dirty glass look. I was thinking of calling this Dirt Begone (to match my Cyberpunk mods), but it didn’t really feel like much dirt was being removed. So... it’s stellar! More images coming soon.
Manual Installation:
NOTE: Starfield data is loaded from your user Documents folder.
1. Download and extract the files to the following locations:
Steam Users: Extract files to %userprofile%\Documents\My Games\Starfield
Game Pass Users: Extract files to C:\Xbox Games\Starfield\Content
2. Configure INI to Load Loose Files
In the same directory where you extracted the files in the previous step, you may find a file called StarfieldCustom.ini. If the file doesn’t exist, you MUST Create it using a text editor. Add the following lines to this file:
The MoTD is saved in the Documents\My Games\Starfield\Data Folder, so we need to turn it off since we will remove that folder.
**2. Move the contents of your ...**Documents\My Games\Starfield\Data folder to the Steam install at ...Steam\steamapps\common\Starfield\Data folder
3. Delete the Data folder in Documents\My Games\Starfield.
4. Add sPhotoModeFolder=Photos To your Starfield.ini In the [Display] section. (This needs to go in your game install directory, not in your documents!)
[Display] sPhotoModeFolder=Photos
That should do it. If you launch the game and the Data folder reappears in your documents folder, you've done something wrong. Make sure the bEnableMessageOfTheDay=0 is UNDER[General] In your StarfieldCustom.iniLocated in your Documents Folder. Then delete the data folder from your documents folder and run the game again.
Check out my other mods!
This tool is provided by the third party [bufftool]
Download Mods For Free
Install LagoFast, start Starfield and play with the mods you love.
We use cookies to make interactions with our websites andservices easy and meaningful. For more information aboutthe cookies we use or to find out how you can disable cookies, click here.