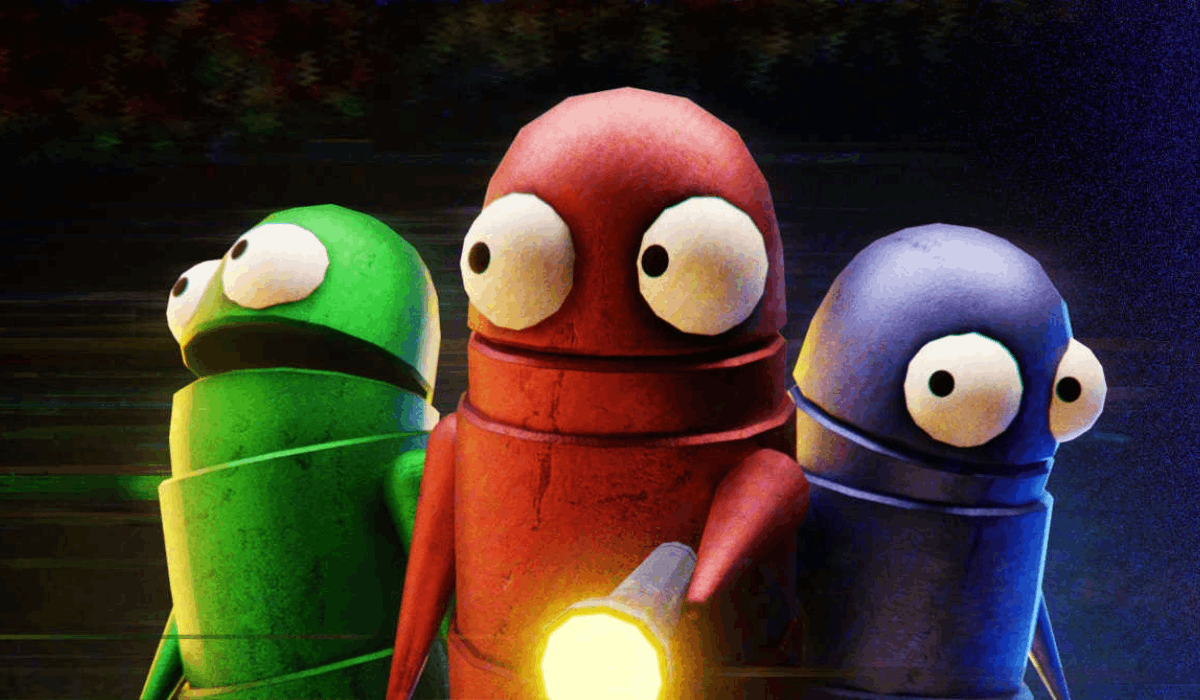
MoreHead
Autor:YMC_MHZLast updated:06/08/2025 08:42:5310.4M2.1MB

Mod Introduction
All models were created by Yuri's cat Calypso, specifically for this mod :3
All the models are created byYuri's Cat CalypsoMade for this mod: 3
Introduction Introduction
A simple and fun decoration mod that provides a for players to import custom models.
Currently, only a few decorations are available, but more updates are planned.
nickklmao-MenuLib mod is required as a prerequisite.
if you encounter strength loss problems, please download the fixstrength mod.
Simple and fun decoration modules, providing unitypackage, for players to import custom models.
At present, there are only a few decorations, which will be continuously updated in the future.
Requires installation nickklmao-MenuLib Front module.
If you experience power loss issues, please download fixstrength Mod.
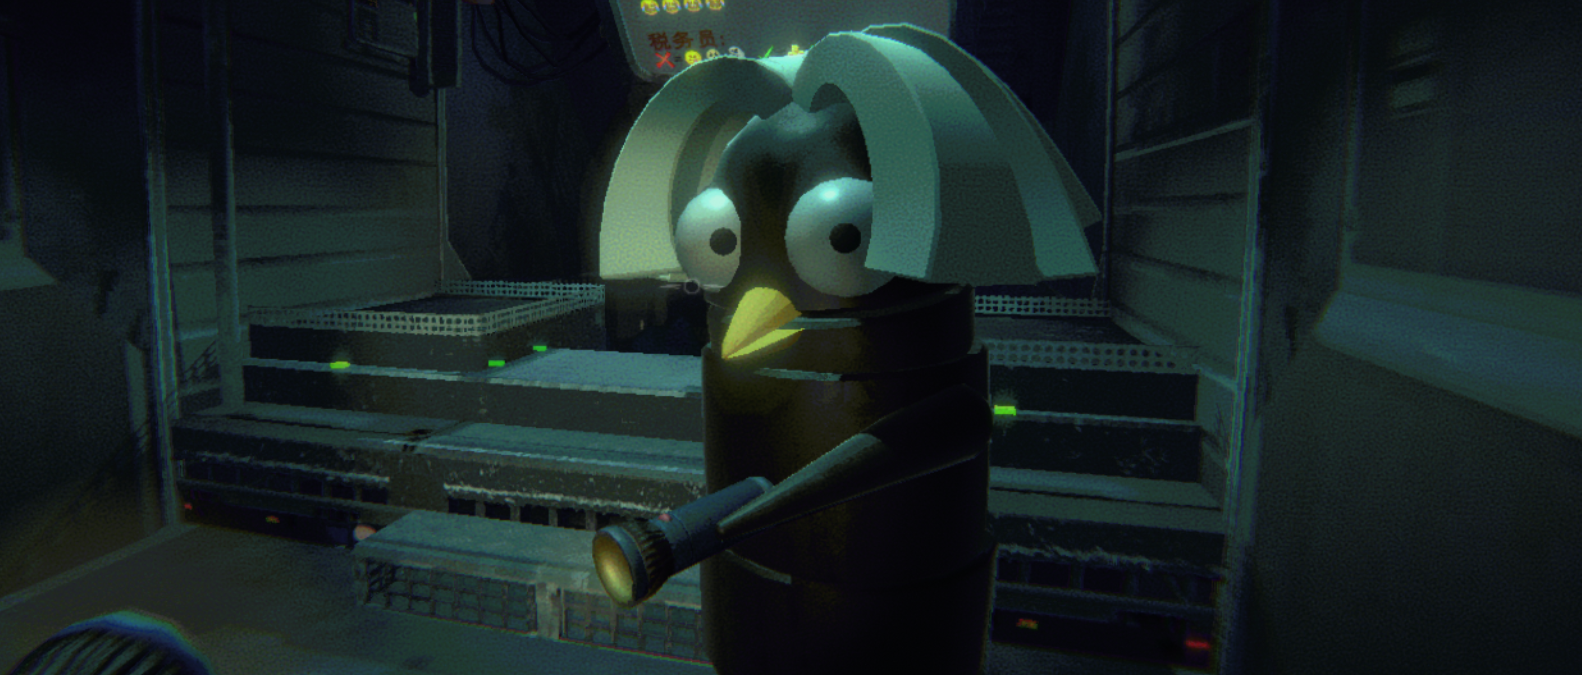 *The chicken beak in the screenshot comes from EvenMoreHead.
How to Use How to Use
- Install this mod and enter the game.
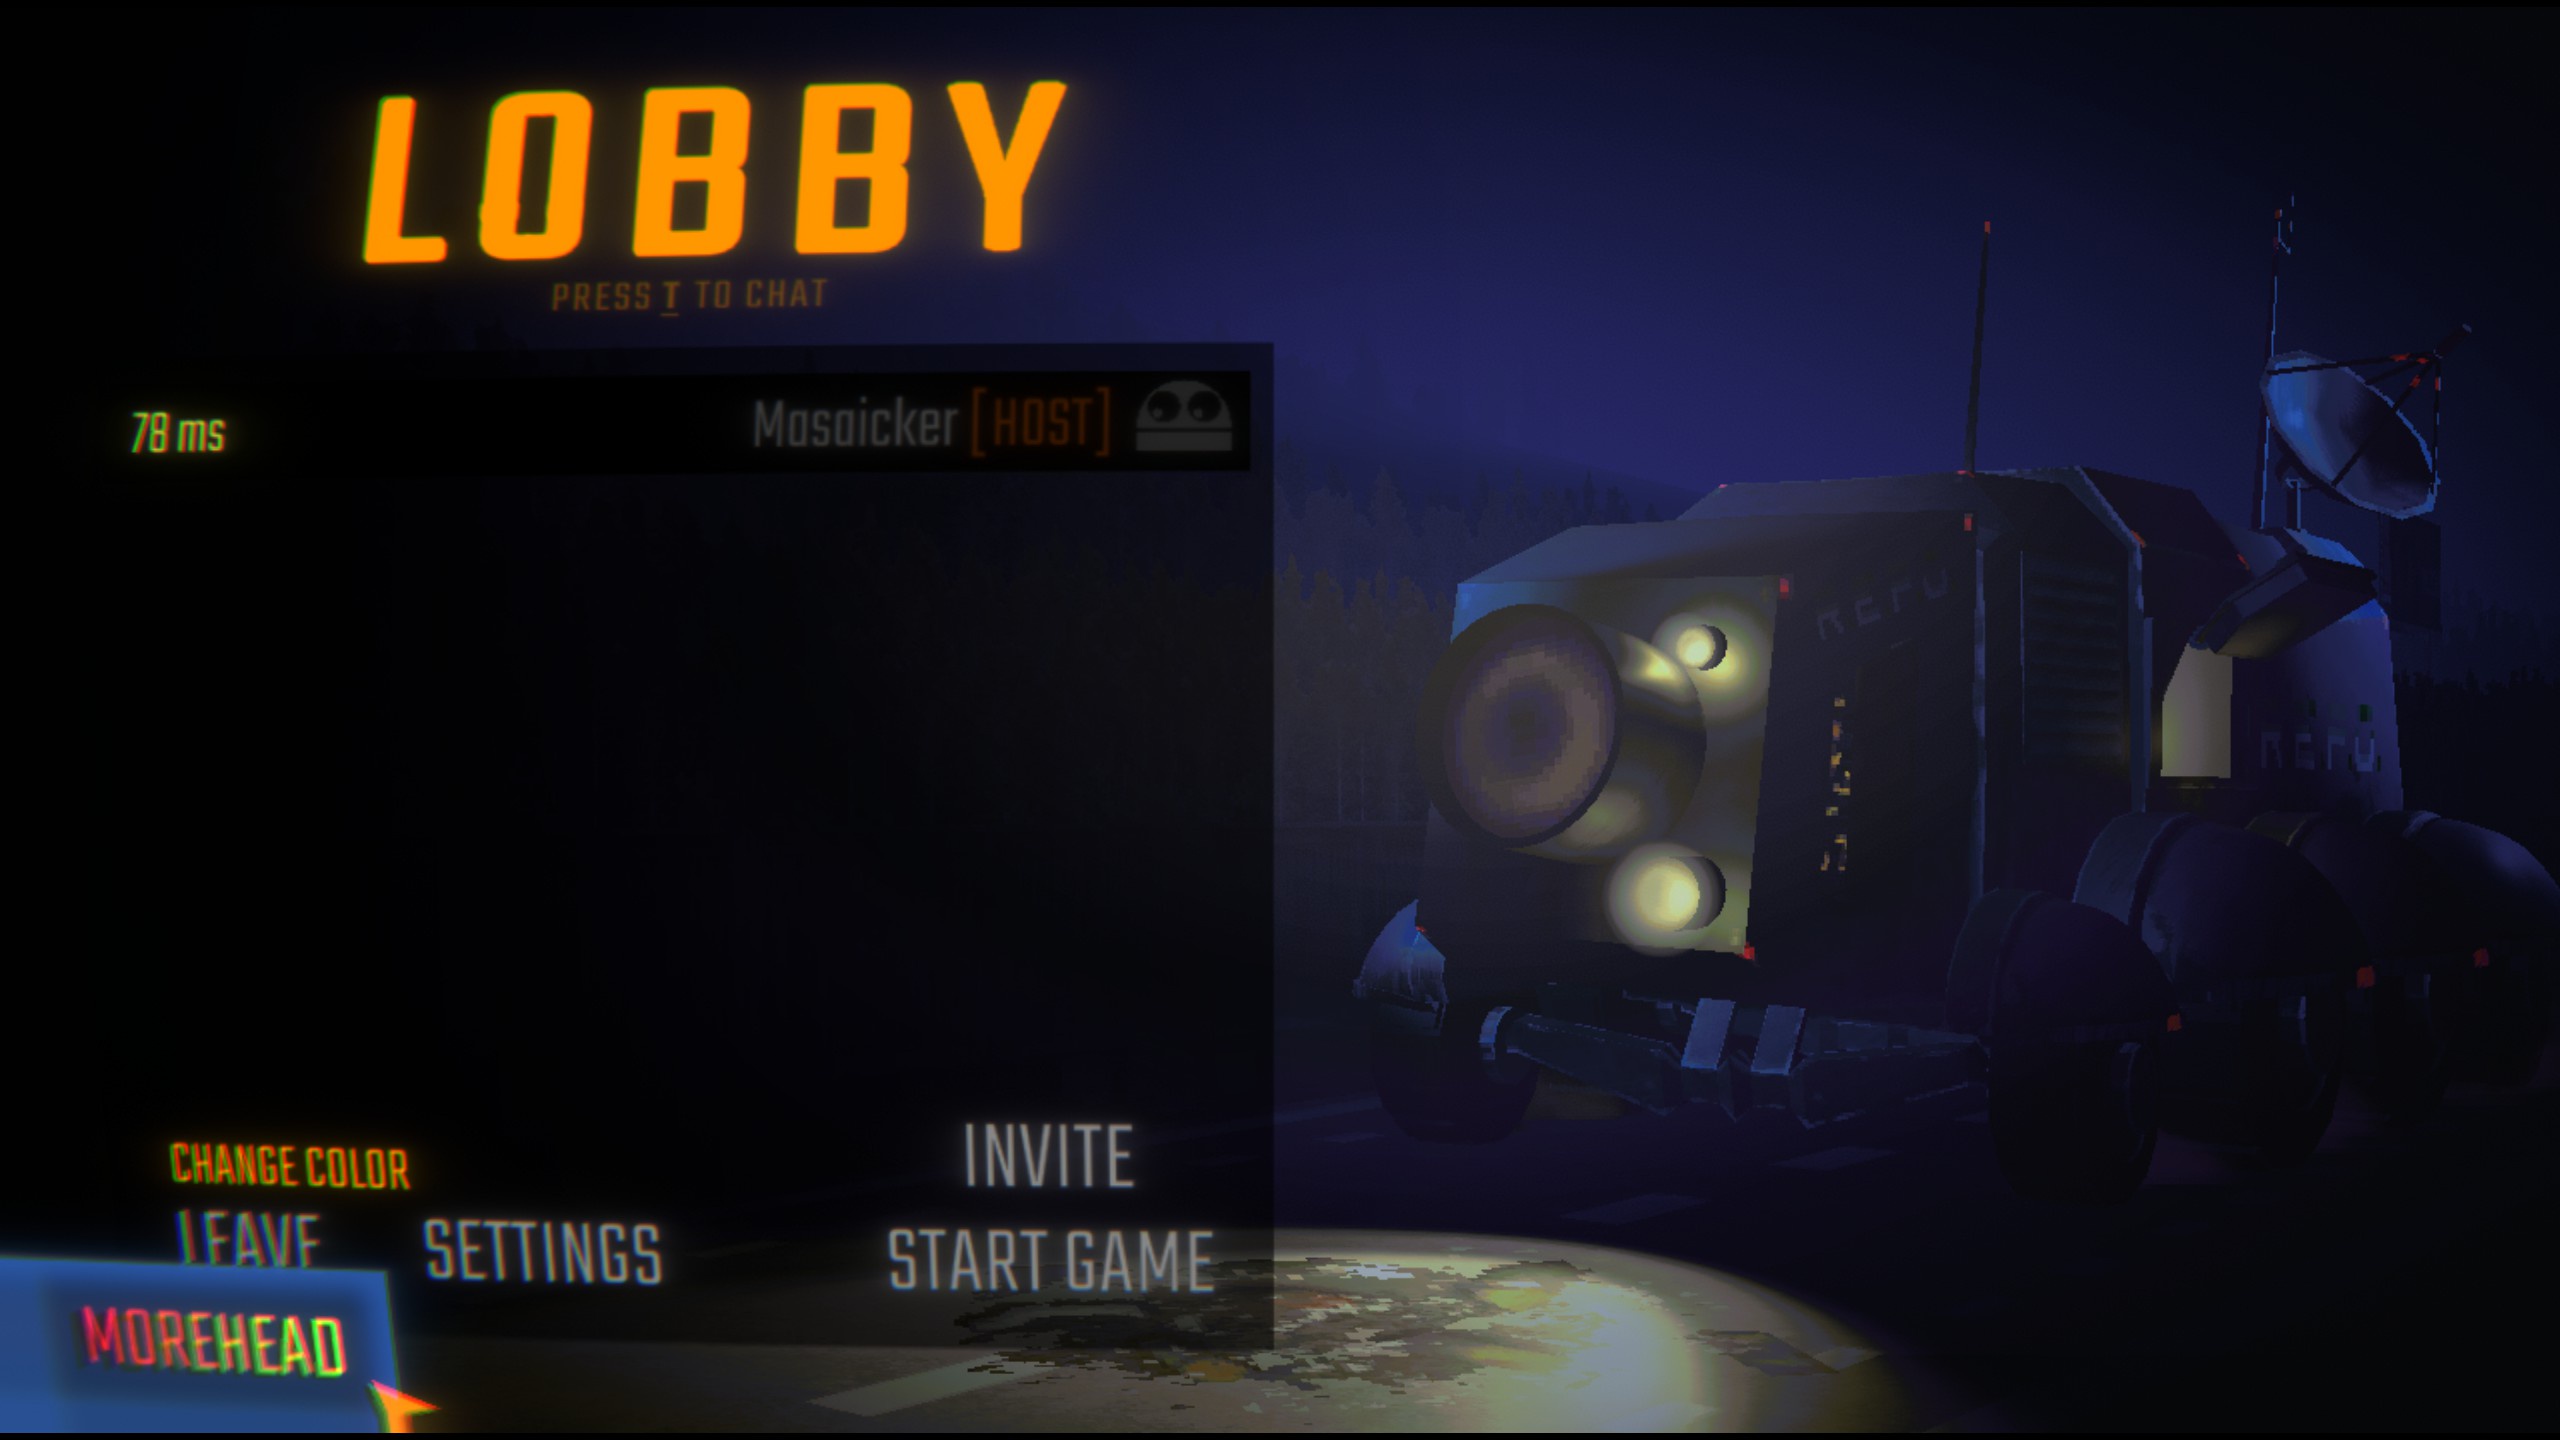
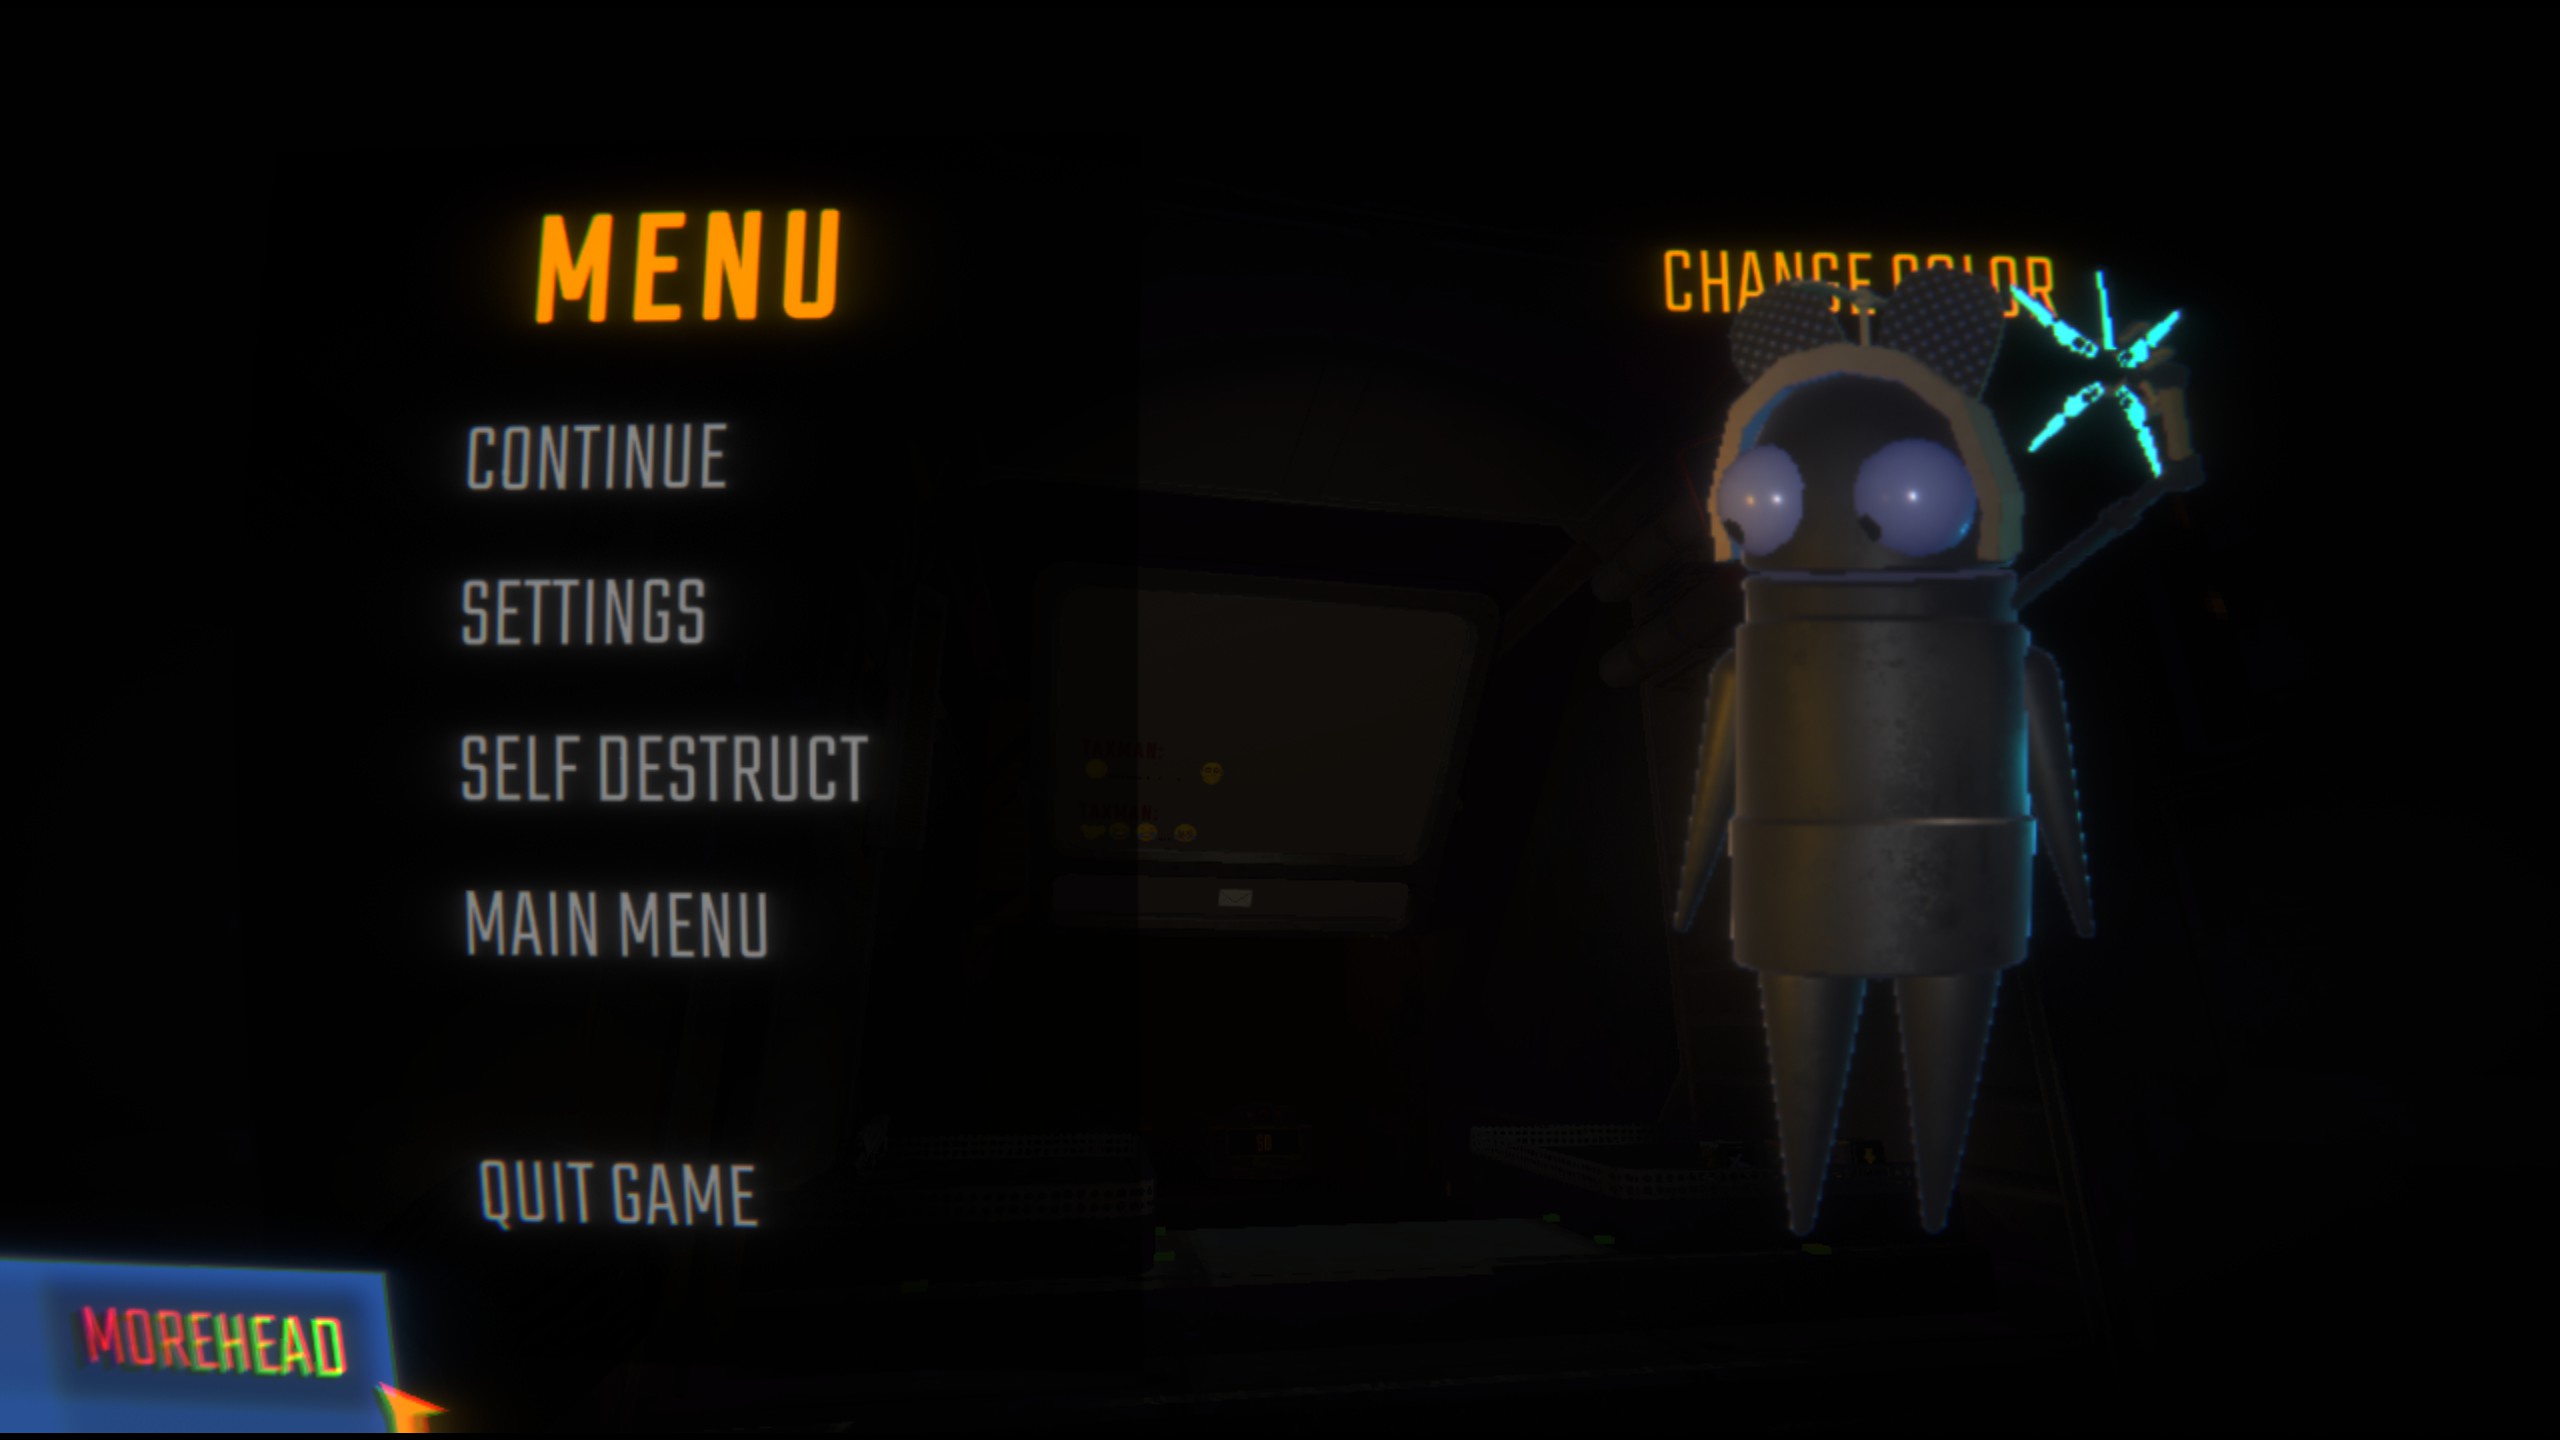
- You can find the "MoreHead" button in the bottom left corner either in the lobby or after entering a level (press
). - Click the button to switch cosmetics.
- Install this module, enter the game.
- In the hall preparation stage 或 After officially entering the level, press
Electrically controlled, can be found in the lower left corner "MoreHead" button。 - Click on the button to switch cosmetics.
⚠ ️ Compatibility Notice Compatibility Notes ⚠ ️
Click to see Click to expand
With updated to 2.1.3, MoreHead must be updated to 1.3.0 or later to function properly.
⚠️ If you are still using
MoreHead 1.2.8or earlier, please keepMenuLibat2.1.1or earlier to avoid compatibility issues.
For the best experience and stability, we recommend always using the latest version.
Updated to 2.1.3, therefore MoreHead Need to upgrade to 1.3.0 Or later to run properly.
⚠ ️ If you are still using
MoreHead 1.2.8Or earlier, make sureMenuLibRemains2.1.1Or earlier, otherwise compatibility issues may occur.
To ensure the best experience and stability, it is recommended to always use the latest version.
Previous: Previous version
→ 1.2.8+
1.0.3 → 1.1.8+ required.
MenuLib 2.0.0 → Need MoreHead 1.2.8+
MenuLib 1.0.3 → Need MoreHead 1.1.8+ Edition.
Configuration Options Configuration Options
Click to see Click to expand
English
MoreHead provides several configuration options that can be modified in the BepInEx configuration file (BepInEx/config/Mhz.REPOMoreHead.cfg):
UI Settings
| Option | ||
|---|---|---|
| EscButtonPosX | X position of MoreHead button in ESC menu | 0 |
| EscButtonPosY | Y position of MoreHead button in ESC menu | 0 |
| LobbyButtonPosX | X position of MoreHead button in lobby | 0 |
| LobbyButtonPosY | Y position of MoreHead button in lobby | 0 |
Adjusting these values allows you to reposition the MoreHead buttons if they conflict with other mod UI elements.
Blacklist Mode
| Option | Description | Default |
|---|---|---|
| BlacklistMode | Set to "ENABLE_BLACKLIST" to enable blacklist functionality | "" (disabled) |
When blacklist mode is enabled:
-
Shift + clickon decoration buttons to add/remove items from the blacklist - Use
Shift + CLEAR ALLto clear the entire blacklist at once - ⚠️ All blacklist changes take effect after restarting the game
Blacklisted decorations won't appear in your decoration menu, which is useful for hiding items you don't want to use.
💡It's recommended that one player manages the blacklist and shares it via mod code or the
BepInEx/config/MoreHeadBlacklist.jsonfile to ensure appearance sync in multiplayer.
💡Before sharing, make sure to disable Blacklist Mode (clear the config value) to prevent unintended changes from other players.
Logging
| Option | Default | |
|---|---|---|
| EnableVerboseLogging | Enable detailed logs for model loading | false |
Enable this option to see more detailed logs about model loading process, helpful for troubleshooting.
File Locations
| File | Path | Description |
|---|---|---|
| MoreHeadConfig.json | |
Main configuration file storing decoration states |
| MoreHeadOutfits.json | [Unity.persistentDataPath]/REPOModData/MoreHead/ |
Stores up to 5 sets of outfit configurations |
| Mhz.REPOMoreHead.cfg | |
BepInEx configuration file with UI positioning and other settings |
| MoreHeadBlacklist.json | BepInEx/config/ |
Blacklist file for hiding unwanted decorations |
| Decorations (.hhh files) | BepInEx/plugins/ orBepInEx/plugins/MoreHead/Decorations/ |
Custom decoration models |
Note: [Unity.persistentDataPath] typically resolves to:
- Windows:
C:/Users/[YourName]/AppData/LocalLow/semiwork/Repo/ - Linux:
~/.config/unity3d/semiwork/Repo/ - Mac:
~/Library/Application Support/semiwork/Repo/
File Descriptions
- MoreHeadConfig.json: Stores the enabled/disabled state of each decoration (single outfit mode - for backward compatibility)
- MoreHeadOutfits.json: Stores up to 5 different decoration configurations that you can switch between using the UI or function keys F1-F5
- Mhz.REPOMoreHead.cfg: Contains settings for UI button positions, blacklist mode toggle, and logging options
- MoreHeadBlacklist.json: Contains a list of decoration names that should be hidden from the UI menu (requires blacklist mode to be enabled)
- Decoration .hhh files: Asset bundles containing 3D models for decorations, can be placed in either location
CHINA
MoreHead provides several configuration options that can be modified in the BepInEx configuration file (BepInEx/config/Mhz.REPOMoreHead.cfg):
UI Settings
| Options | Description | Default value |
|---|---|---|
| EscButtonPosX | X coordinate of MoreHead button in ESC menu | 0 |
| EscButtonPosY | Y coordinate of MoreHead button in ESC menu | 0 |
| LobbyButtonPosX | X coordinate of the MoreHead button in the lobby | 0 |
| LobbyButtonPosY | Y coordinates of the MoreHead button in the lobby | 0 |
Adjusting these values can reposition the MoreHead button and avoid conflicts with UI elements of other modules.
Blacklist mode
| Options | Description | Default value |
|---|---|---|
| BlacklistMode | Set to "ENABLE _ BLACKLIST" to enable blacklisting | "" (Disabled) |
After enabling blacklist mode:
-
Shift + ClickCosmetics button to add/remove blacklist items - Using
Shift + CLEAR ALLCan clear all blacklist entries at once - ⚠ ️ All blacklist related operations will not take effect until the game is restarted
Blacklisted cosmetics won't appear in your decor menu, which is useful for hiding items you don't want to use.
💡 It is recommended that a player maintain the blacklist, by sharing the module code or sending it directly
BepInEx/config/MoreHeadBlacklist.jsonFile to ensure that the appearance is synchronized when multiplayer games are played.
💡 Please be sure to turn off the blacklist mode (clear the configuration item string) before sharing, so as to avoid the data being out of sync caused by other players' accidental touch.
Logging
| Options | Description | Default value |
|---|---|---|
| EnableVerboseLogging | Enable detailed logging for model loading | false |
Enable this option to view a more detailed model loading process log, helping with troubleshooting.
File location
| file | Path | Description |
|---|---|---|
| MoreHeadConfig.json | |
Main configuration file, storing decoration status |
| MoreHeadOutfits.json | [Unity.persistentDataPath]/REPOModData/MoreHead/ |
Store up to 5 sets of equipment configurations |
| Mhz.REPOMoreHead.cfg | |
BepInEx configuration file with UI positioning and other settings |
| MoreHeadBlacklist.json | BepInEx/config/ |
Blacklist file to hide unwanted decorations |
| Decoration file (. hhh file) | BepInEx/plugins/ 或BepInEx/plugins/MoreHead/Decorations/ |
Custom Decoration Model |
attention: [Unity.persistentDataPath] Usually corresponds to:
- Windows:
C:/Users/[your username]/AppData/LocalLow/semiwork/Repo/ - Linux:
~/.config/unity3d/semiwork/Repo/ - Mac:
~/Library/Application Support/semiwork/Repo/
Document Description
- MoreHeadConfig.json: Store the enabled/disabled status of each trim (single rig mode-for backward compatibility)
- MoreHeadOutfits.json: Store up to 5 different trim configurations, which can be switched via the UI or function keys F1-F5
- Mhz.REPOMoreHead.cfg: Contains settings for UI button positions, blacklist mode switches, and log options
- MoreHeadBlacklist.json: Contains a list of decoration names that should be hidden in the UI menu (blacklist mode needs to be enabled)
- Decoration.hhh file: Asset Bundle containing decorative 3D models, which can be placed anywhere
How to Add Models How to add a model
Click to see Click to expand
English Tutorial
-
Set up Unity (2022.3* recommended, the game uses built-in render pipeline, please pay attention to the corresponding model materials), import
MoreHead-Asset-Pack_v1.3.unitypackage. -
Import your model and drag
PlayerAvatarprefab into the scene.Make sure your model is compatible with Unity and properly rigged if animated.
-
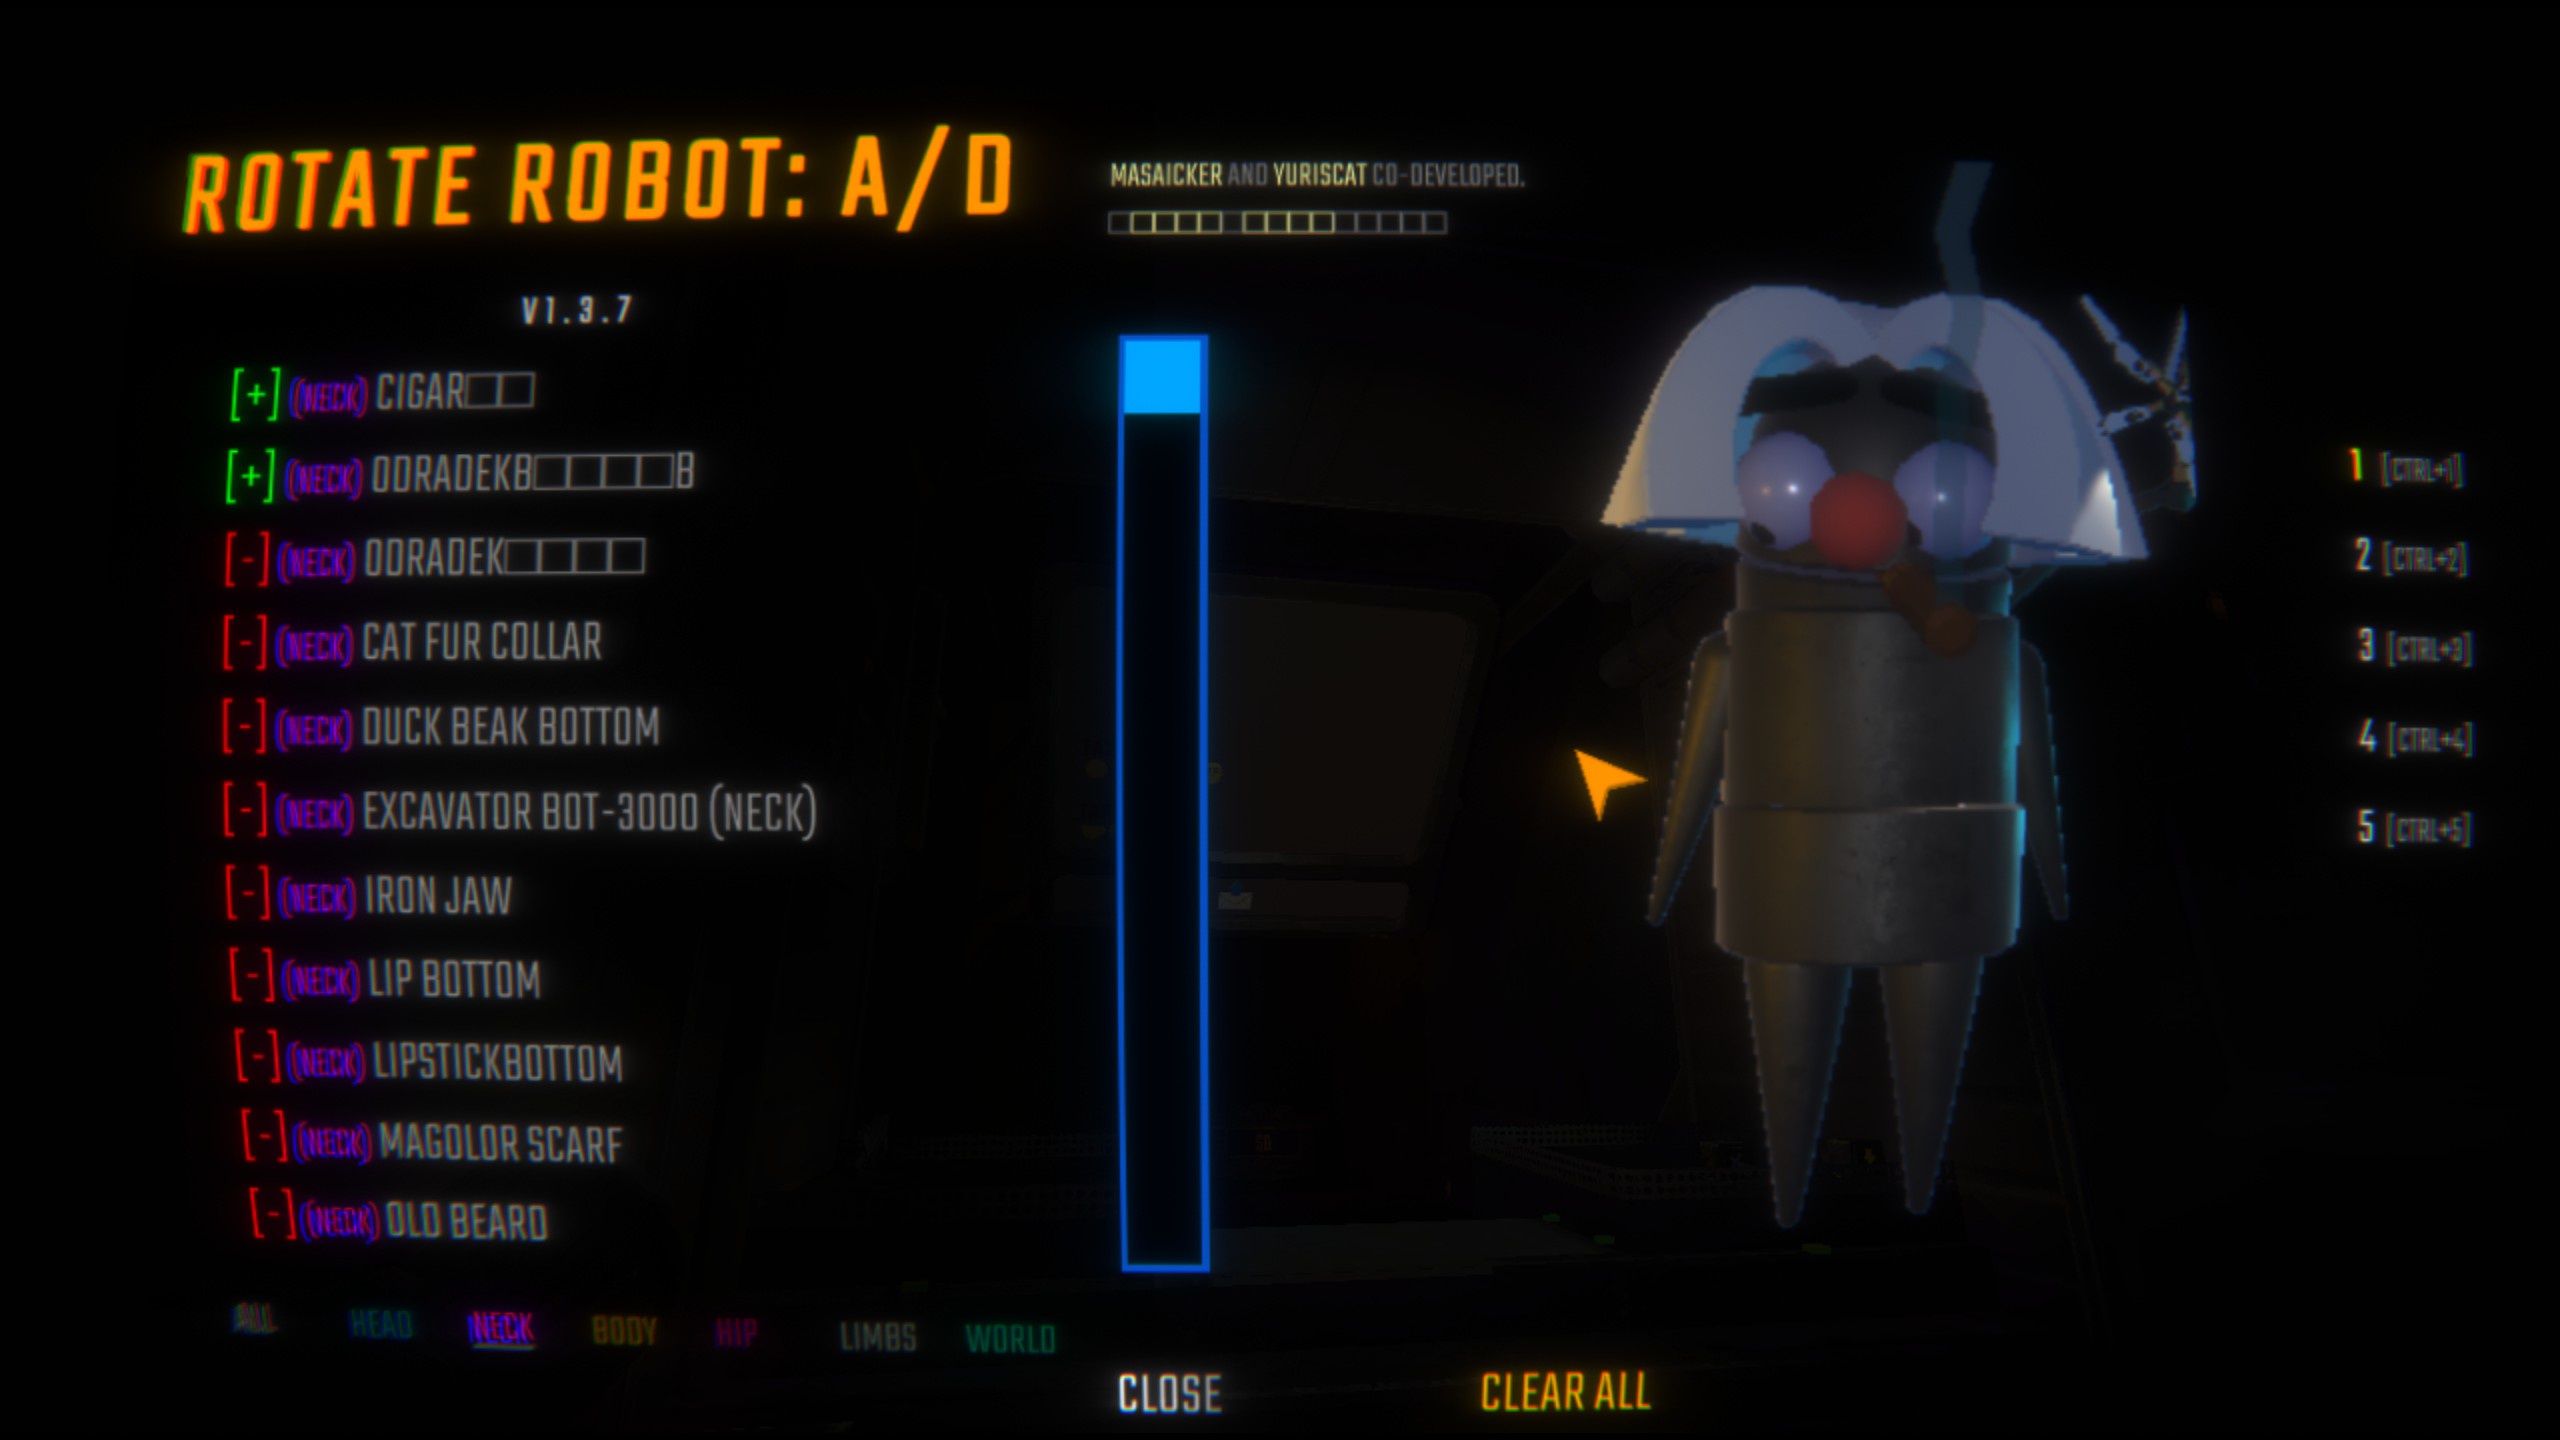
Find the following parts in
PlayerAvatar, where models will be placed:Name Description Tag Head decoration (Do Not Move) Head part that raises when speaking headNeck decoration (Do Not Move) Chin/chest area neckBody decoration (Do Not Move) Body bodyHip decoration (Do Not Move) Hip/lower body area hipL-ARM decoration (Do Not Move) Left arm Left armR-ARM decoration (Do Not Move) Right arm rightarmL-LEG decoration (Do Not Move) Left leg leftlegR-LEG decoration (Do Not Move) Right leg rightlegWorld decoration (Do Not Move) Follows character position but maintains horizontal orientation ⚠️ These positions are anchor references. DO NOT modify coordinates, or your model will be misaligned in-game.
💡 Theworldtag is useful for decorations that should maintain their horizontal orientation regardless of character movement.
💡 Limb-related tags (leftarm, rightarm, leftleg, rightleg) can be viewed together in-game under the "LIMBS" main tag. -
Create an empty object under the target part (referred to as A) and name it.
This name will be displayed in-game as your decoration's name.
-
Place your model inside A and adjust to a suitable position.
-
Drag A to the
Projectwindow to create a prefab.⚠️ Note: Please avoid adding collider components to decoration models as they may affect character physics, causing rotation issues or unstable movements. For collision interactions, consider alternative techniques.
-
Run
Tools → Head Decorations Builder, drag your A prefab (or more, batch export is supported) into the script panel, and select the corresponding part from step 3, then clickAdd Model to List.Make sure to select the correct body part (head/neck/body/hip, etc.) that matches where you placed your decoration.
-
Click
Build All AssetBundle, then locate the[your decoration name].hhhfile in theAssetBundlesfolder.Only the
. hhhfile is needed for installation. Other generated files can be ignored. -
Move the
file toBepInEx\plugins(the game will load all .hhh files in the plugins folder. If you're not sure where to put it, you can place it in\MoreHead\Decorationsfor better organization).⚠️ For multiplayer visibility: You and your friends must have the same
file installed to see the correct decorations.
⚠️ Do not package theMoreHead.dllfile into your Mod, only the. hhhfile and this mod are needed to enjoy the decorations. -
Start the game and enjoy!
Press ESC in-game and find "MoreHead" in the bottom left to access your new decoration.
Chinese tutorial
-
Deploy Unity(Recommended version 2022.3 *, the game uses a built-in rendering pipeline, please pay attention to the corresponding model material), import
MoreHead-Asset-Pack_v1.3.unitypackage。 -
Import the model and put
Preform dragged into scene。Make sure your model is Unity compatible if there are animations that require binding bones correctly.
-
find
PlayerAvatarThe following parts in, corresponding to where the model will be placed:Name Description label Head decoration (Do Not Move) Head raised up when speaking headNeck decoration (Do Not Move) Chin/chest neckBody decoration (Do Not Move) Body bodyHip decoration (Do Not Move) Hips/lower body hipL-ARM decoration (Do Not Move) Left arm Left armR-ARM decoration (Do Not Move) Right arm rightarmL-LEG decoration (Do Not Move) Left leg leftlegR-LEG decoration (Do Not Move) Right leg rightlegWorld decoration (Do Not Move) Follow the character position but maintain the horizontal orientation ⚠ ️ These positions are coordinate anchor references. Do not modify the coordinates or your model will be misaligned in the game.
💡worldLabels are suitable for ornaments that need to maintain their horizontal orientation, no matter how the character moves.
💡 Limb-related tags (leftarm, rightarm, leftleg, rightleg) can be viewed uniformly in the game through the "LIMBS" main tag. -
Create an empty object (called A) under the target site and name it。
This name will be displayed as your ornament name in the game.
-
Put the model in A and adjust it to the appropriate position。
-
Drag A to
ProjectWindow, create a preform。⚠ ️ Tip: Do not add collision assemblies to the trim model. Colliding bodies can affect character physics, causing abnormal rotation or unstable movement. For collision interaction, please consider using other technical implementations.
-
Run
Tools → Head Decorations Builder, drag in the A preform (or more, batch export is supported), select the corresponding part in step 3, and thenAdd Model to List。Make sure to select the correct body part (head/neck/body/hips etc) that matches where you place your decoration.
-
click
Build All AssetBundle, and then inAssetBundlesFound in folder[Your ornament name]. hhhDocuments.Only need to be installed
Files, other generated files can be ignored. -
将
Files moved toBepInEx\plugins(Starting the game will load all the. hhh files under plugins. If you don't know where to put them, you can put them in\MoreHead\DecorationsEasy to manage).⚠ ️ Multiplayer visibility: You and your friends must install the same
. hhhDocuments in order to see each other correct decoration.
⚠ ️ Do not packMoreHead.dllFile to your Mod, just. hhhFiles and this mod can play with accessories. -
Start the game and enjoy decorating!
Press ESC in the game and find "MoreHead" in the lower left corner to access your new decoration.
Developer API & Extension Developer API & Extension
Click to see Click to expand
English Documentation
Starting from version 1.2.4, MoreHead provides public APIs for extension. These interfaces allow developers to programmatically load AssetBundle resources, inject custom scripts, and enhance decoration functionality.
Public APIs
The following public interfaces are available in the HeadDecorationManager class:
| Method | Description |
|---|---|
LoadExternalAssetBundlesFromAssembly(Assembly assembly) |
Loads all . hhh resources embedded in the specified assembly |
Recreate () |
Refreshes the UI to display newly loaded decorations |
GetDecorationsFromAssembly(Assembly assembly) |
Returns a list of all decorations loaded from the specified assembly |
GetDecorationGameObjectsFromAssembly(Assembly assembly) |
Returns a list of GameObject prefabs loaded from the specified assembly |
GetDecorationByName(Assembly assembly, string decorationName) |
Finds a specific decoration by name from the specified assembly |
FindDecorationsByPartialName(Assembly assembly, string partialName) |
Searches for decorations that contain the specified partial name |
Integration Methods
There are two primary ways to leverage MoreHead's API for extended functionality:
1. Embedding AssetBundles as Resources
You can embed your AssetBundle () files directly into your DLL as embedded resources:
- Create AssetBundles following standard procedures outlined in the "How to Add Models" section
- In Visual Studio (or your preferred IDE):
- Add the
files to your project - Set their "Build Action" to "Embedded Resource"
- Add the
- In your plugin's initialization code:
// Load all embedded .hhh resources from your assembly Assembly assembly = Assembly.GetExecutingAssembly(); MoreHead.HeadDecorationManager.LoadExternalAssetBundlesFromAssembly(assembly); MoreHead.HeadDecorationManager.RecreateUI();
Note: Embedding resources into your DLL is not mandatory. You can also use MoreHead's standard methods to load local
. hhhfiles and simply use your DLL for script injection and functionality implementation.
2. Programmatic Script Injection
You can write scripts that access and modify decorations, regardless of whether they were loaded from your DLL or other sources:
- Use the provided API to access decoration prefabs
- Add custom components/scripts to enhance functionality
- Implement your own logic for decoration behavior
Implementation Example
using BepInEx; using BepInEx.Logging; using System.Reflection; using UnityEngine; using System.Collections.Generic; namespace MyCustomDecorations { [BepInPlugin("com.yourname.customdecorations", "Custom Decorations Mod", "1.0.0")] [BepInDependency("Mhz.REPOMoreHead", BepInDependency.DependencyFlags.HardDependency)] public class CustomDecorationsPlugin : BaseUnityPlugin { public static CustomDecorationsPlugin Instance { get; private set; } private ManualLogSource _logger; private const string TARGET_MODEL_NAME = "Cigar"; // Target model name private void Awake() { Instance = this; _logger = Logger; _logger.LogInfo("Custom Decorations Mod loaded"); // Load decorations and set up handlers LoadDecorations(); } private void LoadDecorations() { try { // Get current assembly Assembly assembly = Assembly.GetExecutingAssembly(); // Load all .hhh resources from current DLL MoreHead.HeadDecorationManager.LoadExternalAssetBundlesFromAssembly(assembly); // Recreate UI to display newly loaded models MoreHead.HeadDecorationManager.RecreateUI(); // Find specific models matching the target name List<MoreHead.DecorationInfo> targetDecorations = MoreHead.HeadDecorationManager.FindDecorationsByPartialName(assembly, TARGET_MODEL_NAME); if (targetDecorations.Count > 0) { _logger.LogInfo($"Found {targetDecorations.Count} models matching '{TARGET_MODEL_NAME}'"); // Add component to each found target model foreach (var decoration in targetDecorations) { if (decoration.Prefab != null && decoration.Prefab.GetComponent<SpaceKeyHandler>() == null) { _logger.LogInfo($"Adding SpaceKeyHandler to {decoration.DisplayName}"); decoration.Prefab.AddComponent<SpaceKeyHandler>(); } } } } catch (System.Exception ex) { _logger.LogError($"Error processing decorations: {ex.Message}"); } } // Class for handling decoration behavior public class SpaceKeyHandler : MonoBehaviour { private void Awake() { // Log when the component is initialized Instance._logger.LogInfo($"SpaceKeyHandler initialized on {gameObject.name}"); } private void Update() { // Check for space key press directly in the component if (Input.GetKeyDown(KeyCode.Space)) { // Simply log the message when triggered Instance._logger.LogInfo($"Space key pressed on decoration: {gameObject.name}"); } } } } }
⚠ ️ Important Notes
Scripts don't necessarily need to be attached to the corresponding model - implement them as needed for proper functionality. For example, the sample code above only responds to space key presses when the character is displayed in the menu.
Why is this happening?
Because in first-person view, the game sets the local character's
[RIG]GameObject to inactive (SetActive(false)).
is the parent object containing the character model, and MoreHead decorations are also mounted under this hierarchy.- When
is disabled, according to Unity's mechanics, all components of child objects will not have theirUpdate,FixedUpdateand other lifecycle methods called.- Custom decoration models are also placed under the
[RIG]hierarchy, so when you directly attach scripts to the model, once you enter first-person view, these scripts cannot execute normally because the parent object is disabled.- However, in the game menu interface, the character model always remains active, so scripts attached to decorations can work normally, as Unity only executes component methods on active GameObjects.
This difference in activation states is the key point that explains why the same script behaves differently in different scenarios.
Important Notes About Multiplayer Synchronization
Although in first-person view you cannot see your own decoration model (because the local [RIG] is disabled), the game still synchronizes your state over the network. This means that as long as you properly handle multiplayer synchronization logic, other players can still see the changes and actions of your decoration model.
Therefore, even if local scripts don't execute due to [RIG] being disabled, you can still implement interactive effects through global managers or network synchronization mechanisms, allowing all players to see changes to your decoration model. This creates possibilities for interactive decorations.
Points to Consider When Implementing Model Behavior Logic:
- Script Mounting Strategy - Consider using global managers or event systems as alternatives
- Differences Between Scene Character and Menu Character - Some scripts may only work in specific contexts
- Multiplayer Synchronization Issues - Ensure consistent behavior across network clients
- Component Activation State - Components on disabled GameObjects won't execute Update/FixedUpdate methods
- Resource Management - Properly initialize and clean up resources to avoid memory leaks
- Network Authority - Consider which operations should be executed locally and which need network synchronization
Chinese Documentation
Starting with version 1.2. 4, MoreHead provides public API interfaces for extended functionality. These interfaces allow developers to programmatically load AssetBundle resources, inject custom scripts, and enhance decoration functionality.
Expose the API interface
Following isHeadDecorationManagerPublic interfaces available in class:
| Method | Description |
|---|---|
LoadExternalAssetBundlesFromAssembly(Assembly assembly) |
Loads all embedded in the specified assembly. hhhResources |
Recreate () |
Refresh the UI to show the newly loaded ornament |
GetDecorationsFromAssembly(Assembly assembly) |
Returns a list of all ornaments loaded from the specified assembly |
GetDecorationGameObjectsFromAssembly(Assembly assembly) |
Returns a list of all GameObject preforms loaded from the specified assembly |
GetDecorationByName(Assembly assembly, string decorationName) |
Find a specific ornament in a specified assembly by name |
FindDecorationsByPartialName(Assembly assembly, string partialName) |
Search for ornaments that contain the specified part name |
Integrated approach
There are two main ways to leverage MoreHead's API for functionality extension:
1. Embed AssetBundle as a resource
You can combine the AssetBundle (. hhh) files are directly embedded in the DLL as embedded resources:
- Create an AssetBundle according to the standard procedure in the How to Add a Model section
- In Visual Studio (or an IDE of your choice):
- 将
Files added to your project - Set their Build Action to Embedded Resources
- 将
- In your plugin initialization code:
// 从您的程序集加载所有嵌入的.hhh资源 Assembly assembly = Assembly.GetExecutingAssembly(); MoreHead.HeadDecorationManager.LoadExternalAssetBundlesFromAssembly(assembly); MoreHead.HeadDecorationManager.RecreateUI();
attention: Embedding a resource in a DLL is not required. You can also use MoreHead's standard method to load local
. hhhFiles, just use your DLL to inject scripts and implement functionality.
2. Programmatic script injection
You can write scripts to access and modify ornaments, whether they are loaded from your DLL or some other source:
- Access ornament preforms using the provided API
- Add custom components/scripts to enhance functionality
- Implement your own ornament behavior logic
Implementation Example
using BepInEx; using BepInEx.Logging; using System.Reflection; using UnityEngine; using System.Collections.Generic; namespace MyCustomDecorations { [BepInPlugin("com.yourname.customdecorations", "自定义装饰MOD", "1.0.0") ] [BepInDependency("Mhz.REPOMoreHead", BepInDependency.DependencyFlags.HardDependency)] public class CustomDecorationsPlugin : BaseUnityPlugin { public static CustomDecorationsPlugin Instance { get; private set; } private ManualLogSource _logger; private const string TARGET_MODEL_NAME = "Cigar雪茄"; //Target model name private void Awake () {Instance = this; _ Logger = Logger; _ logger.LogInfo ("custom decoration MOD loaded");//load decoration and set processing script LoadDecorations ();} private void LoadDecorations () {try {//get the current assembly assembly = assembly.GetExecutingAssembly ();//load all. hhh resources in the current DLL MoreHead.HeadDecorationManager.LoadExternalAssetBundlesFromAssembly (assembly); //Rebuild UI to display newly loaded model MoreHead.HeadDecorationManager.RecreateUI (); //Find a specific model List that matches the target name<MoreHead.DecorationInfo>targetDecorations = MoreHead.HeadDecorationManager.FindDecorationsByPartialName(assembly, TARGET_MODEL_NAME); if (targetDecorations.Count > 0) { _logger.LogInfo($"找到 {targetDecorations.Count} 个匹配 '{TARGET_MODEL_NAME}' 的模型"); // 为每个找到的目标模型添加组件 foreach (var decoration in targetDecorations) { if (decoration.Prefab != null && decoration.Prefab.GetComponent<SpaceKeyHandler>() == null) { _logger.LogInfo($"为 {decoration.DisplayName} 添加 SpaceKeyHandler"); decoration.Prefab.AddComponent<SpaceKeyHandler>(); }}}} catch (System.Exception ex) {_ logger.LogError ($"Error handling ornament: {ex.Message}");}}//Class for handling ornament behavior public class SpaceKeyHandler: MonoBehaviour {private void Awake () {//Log when component is initialized Instance._ logger.LogInfo ($"SpaceKeyHandler is initialized on {gameObject.name}");}}}}
⚠ ️ Important Tips
The script doesn't have to be bound to the corresponding model, and it can be processed on demand to improve the function. For example the sample code above, it can only be used inWhen a character is displayed in the menuResponsive spaces output log.
Why is this happening?
Because the game isFirst-person perspectiveThe local role will be
The game object is set toInactive state(SetActive(false))。
[RIG]Is the parent object that contains the role model,MoreHead's decorative models are also mounted under this level。- 当
When disabled, according to the working mechanism of Unity, itsComponents of all child objects的Update、FixedUpdateEqual life cycle approachWill not be called。- Custom decoration models are also placed in
[RIG]Hierarchy, so when you mount scripts directly on the model, once you enter the first-person perspective, these scripts will be disabled because the parent object is disabledFailed to execute properly。- And in the gameMenu interfaceIn, the role model is always maintainedActivation statusAt this time, the script mounted on the decoration works correctly, because Unity will only execute the component methods on the active state game object.
SuchDifference in activation statusIs the key point, which explains why the same script behaves inconsistently in different scenarios.
Important notes about multiplayer synchronization
Although in a first-person perspectiveYou can't see your own trim model(because local [RIG] is disabled), but the game will still be inSynchronize your status across the network。 This means that as long as youProperly handle multiplayer synchronization logic, other players can still see the changes and actions of your decoration model.
Therefore, even if the local script is not executed because [RIG] is disabled, you can still useGlobal manager or network synchronization mechanismTo achieve interactive effects, letAll players can see itChanges that occur to your decorative model. This createsInteractive DecorationProvides possibilities.
When implementing model behavior logic, you need to pay attention to the following points:
- Script Mount Policy -Consider alternatives such as global managers or event systems
- The difference between scene characters and menu characters -Some scripts may only work in specific contexts
- Multiplayer synchronization problem -Ensure consistent behavior across network clients
- Component activation status -Components on disabled game objects do not execute the Update/FixedUpdate method
- Resource management -Initialize and clean resources correctly to avoid memory leaks
- Network permissions -Consider which actions should be performed locally and which require network synchronization
Future Update Plans Future renewal plans
-
More hats
-
Screenshots for decorations to assist selection (not guaranteed)
-
More hats
-
Provide screenshots for decorations for easy selection (Not guaranteed)
Author Information Author Information
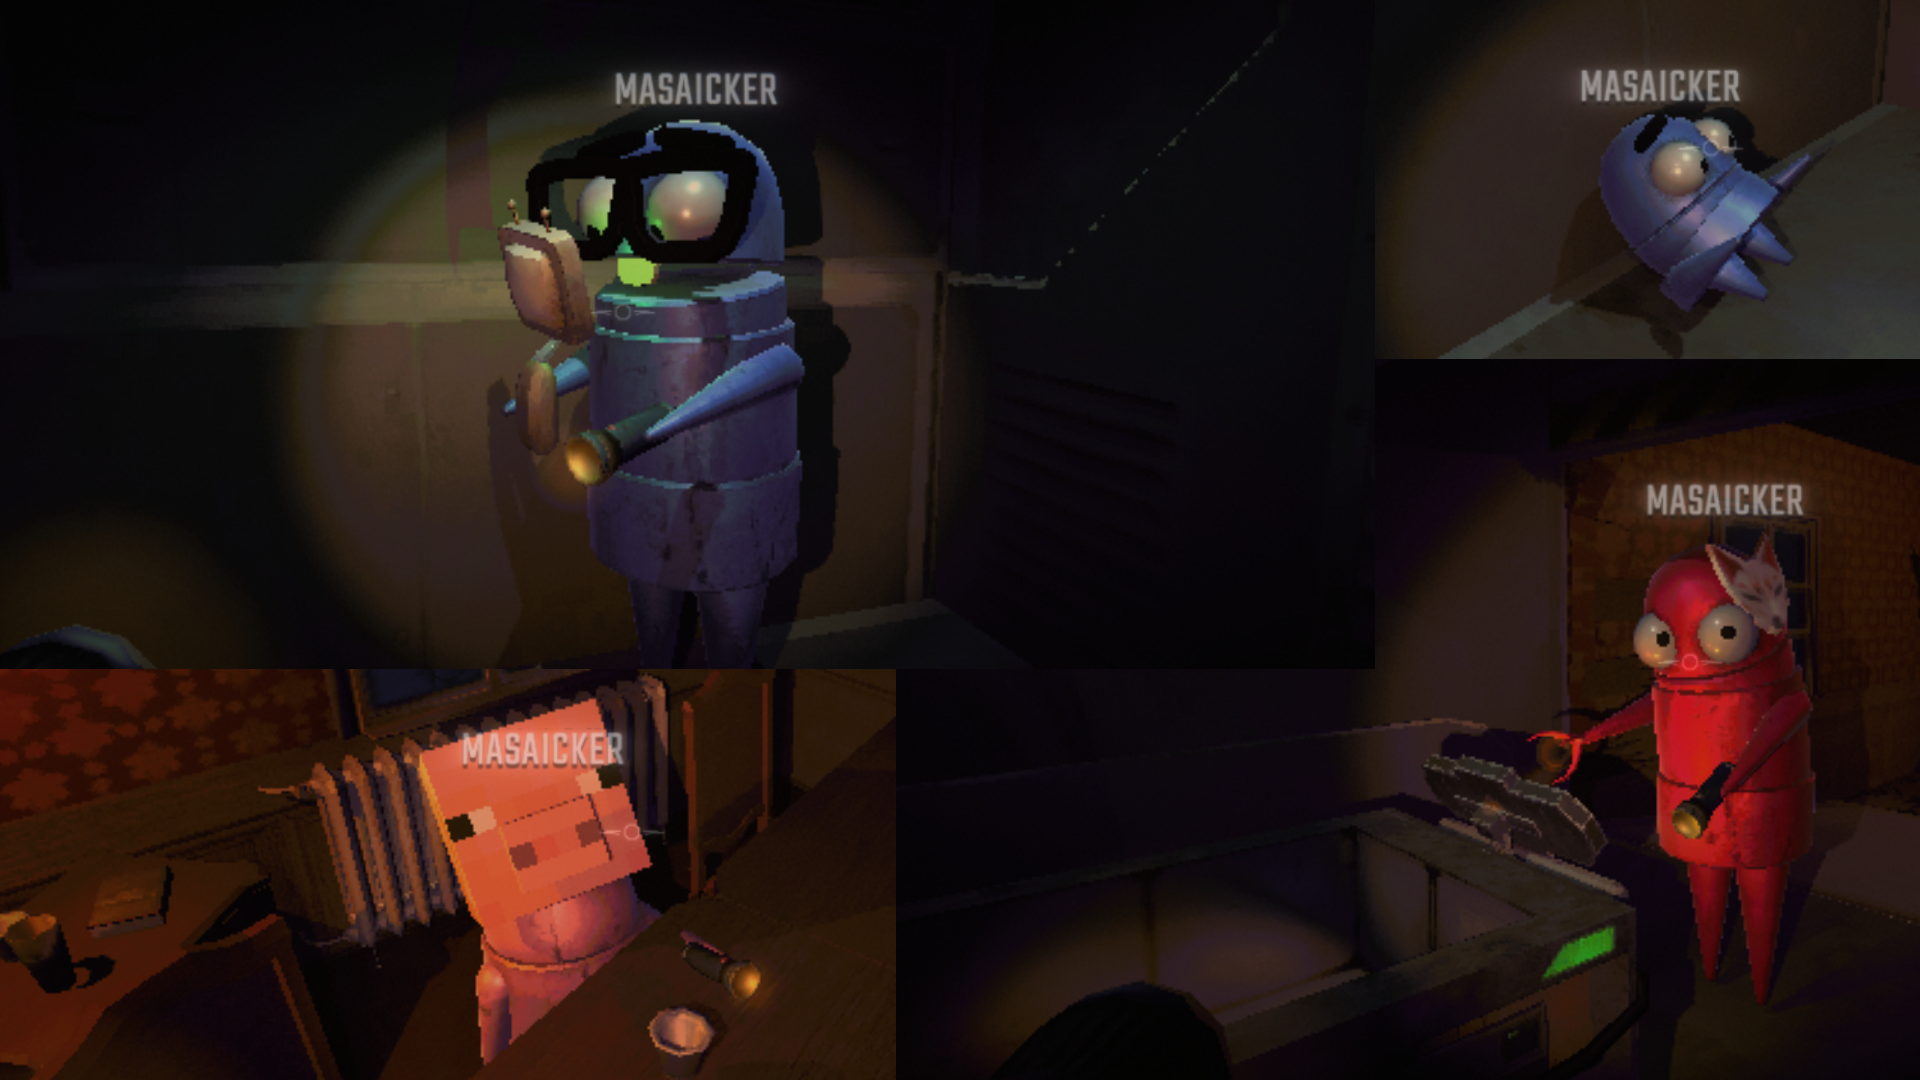
Masaicker Mosaic:
YurisCat Calypso Yuri's Cat Calypso:BILIBILI
For questions and suggestions, submit issues:
If you have questions and suggestions, please submit Issues:GitHub Issues
Want to support us with coffee and yellow energy crystals?
Want to buy us coffee and buy yellow energy crystals?
Donate on Ko-Fi
Whispering, we are making an indie game!
On a quiet note, we're making indie games!

Download Mods For Free
Install LagoFast, start R.E.P.O. and play with the mods you love.